Now is the time to pickle some walnuts! If you have never tried pickled walnuts before then you may not appreciate the subtle flavour combination of pickled walnuts with a good cheese, traditionally eaten at Christmas time but an excellent pairing at any time of the year.
Pickled walnuts do not look attractive as they turn a deep brown colour as they mature, and resemble sliced brains….. but dont let this put you off!
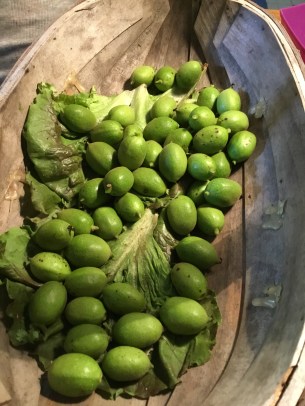 Walnuts are pickled whole in their outer husk before the inner shell starts to harden. They should be picked before they reach full maturity and should be around the size of a quails egg or slightly larger, this is usually around mid-June, to determine the best time for pickling you need to pick one off the tree and cut it in half, if the shell is still soft and they are a reasonable size then they are ready for pickling. You dont need many to fill a jar, maybe around 10 to a dozen per jar. There are plenty on the trees this year so you won’t miss them at harvest time.
You then need to prick them several times each with a sharp knife or fork and drop them straight into a brine mixture, avoid getting any juice on your hands or clothing because it stains a dark brown very quickly. They will need to stay in brine for two to three weeks depending on their size, change the brine each week (you can make brine easily by dissolving salt in cold water).
After the brining period they are ready to pickle. You should rinse them first and then leave them to oxidise for a few hours so that they go an even brown colour all over (they will start to brown in patches during the brining process). Then pack into jars and cover with hot vinegar – you can use red wine, white wine or cider vinegar that has been heated with a few pickling spices such as star anise, allspice and peppercorns and a desert spoon of sugar to reduce the acidity slightly.
They need to be stored for a few months before eating, ideally until Christmas!
Serve with cheese and port.




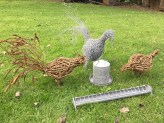 If you enjoy this beginners course we will be offering intermediate courses later this spring to make chicken, cockerel or duck sculptures for the garden.
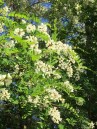 All around us at the moment is the sweet aroma of the Robinia pseudoacacia (false acacia) flowers. Last summer our French neighbour recommended that we try making beignets – fritters – with them. Having tried elderflower fritters we were keen to have a go.
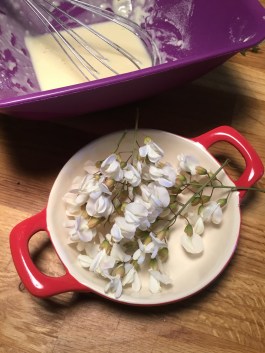 ain flour, beaten egg and a drop of sparkling white wine as there happened to be a bottle open! (You could use beer or sparkling water) you then dip the flowers into the batter by holding onto the main stem, let some of the excess drain off and then fry until golden in hot oil, this only takes a couple of minutes.
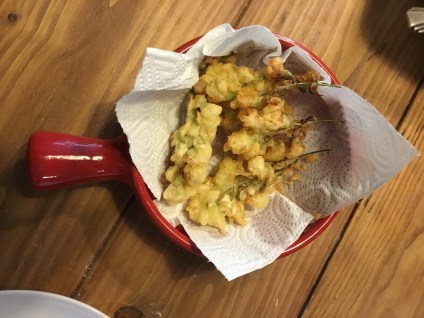 We served this as a savoury dish with tapas, they go nicely with a yogurt and tahini dip or a smokey chilli salsa but you can also drizzle with honey and eat as a desert with crème fresh. Yum!
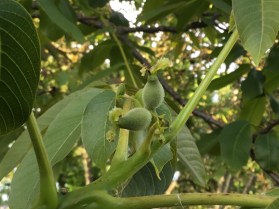 when there is either no wind or too much wind or heavy rain, pollination may be poor.
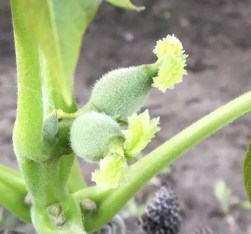 The female ‘flowers’ are not particularly decorative. Because they do not need to attract insects there are no petals, colour or scent, instead they are purely functional consisting of the plump ovary (that will develop into the nut) ad two large and feathery stigma that are sticky and have evolved to capture as much pollen as possible.


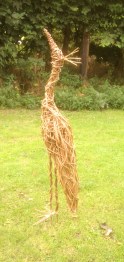 You will learn the basics of using
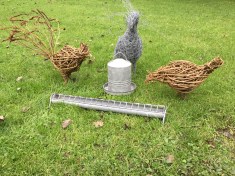 willow as a media for sculpture, create a ‘life-size’ Heron or chicken to take home with you as a quirky garden decoration.
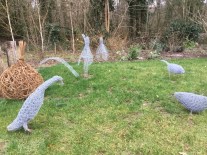
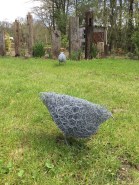 Learn the basics of sculpture using chicken wire to create a lifelike chicken sculpture for your garden. A good basic beginners course which can lead onto building on these skills to create more complex sculptures later in the year.